You only get one shot at a first impression, and for most buyers in White Plains, that impression starts online. If you want your condo or co-op to stand out and sell faster, smart staging is one of the highest-impact moves you can make. With local prices holding strong and inventory moving, well-presented units draw more clicks, more showings, and better offers. In this guide, you’ll get a practical, building-aware plan to stage your home, prep for photos, and streamline showings. Let’s dive in.
Why staging matters in White Plains
Local data shows steady demand. The median sold price in White Plains hovered around $660,000 in June 2025, according to the Rocket Homes market report, reflecting a resilient market where standout listings capture attention quickly. You can review the current snapshot in the Rocket Homes market report for White Plains.
Regional updates from the Hudson Gateway Association of REALTORS® also point to continued price growth and shifting inventory, which puts a premium on strong presentation. See HGAR’s latest press releases and market updates for context. When buyers scroll through dozens of listings, the homes with clean, bright photos and clear layouts rise to the top.
Industry research backs this up. NAR’s 2025 staging analysis found that staged homes often sell faster and can command higher offers for many sellers. You can read the highlights in NAR’s news release on staging’s impact and see the snapshot showing that buyers prioritize the living room, primary bedroom, and kitchen in the 2025 staging infographic.
Confirm building rules early
Condo associations and co-op boards set the ground rules for access, deliveries, and showings. Before you schedule a photographer or move staging items, confirm the following with your managing agent or building manager:
- Lockbox policy and showing supervision. Some buildings allow electronic lockboxes, others require escorted showings. MLS rules also govern how lockboxes are handled. As a starting point, review MLS procedures like those outlined in MLS PIN’s lockbox and showing rules, then confirm your building’s policy.
- Concierge and security procedures. Ask about ID, sign-in steps, and any set showing windows.
- Elevator reservations and move fees. Large items and staging furniture often require advance booking.
- Vendor insurance requirements. Management may need certificates on file before deliveries.
- City permits for curb use. For moves or large deliveries, check the City of White Plains Applications & Permits page for any curb, parking, or valet-related permits.
Co-op note: Board timelines can extend the path from contract to closing by several weeks. Plan ahead on documentation so you can move quickly once you accept an offer.
Your room-by-room staging plan
Focus first on the rooms buyers care about most. According to NAR, the living room, primary bedroom, and kitchen carry the most weight with buyers.
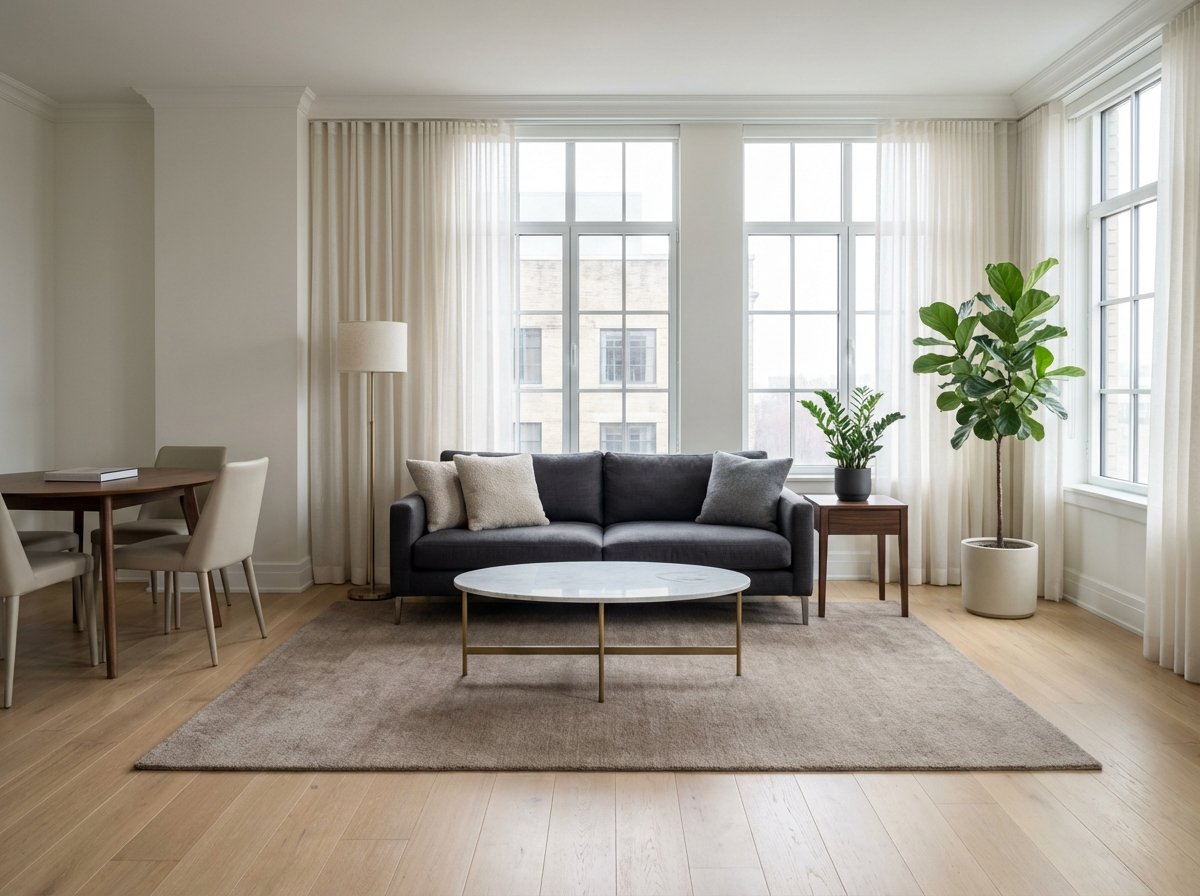
Living room
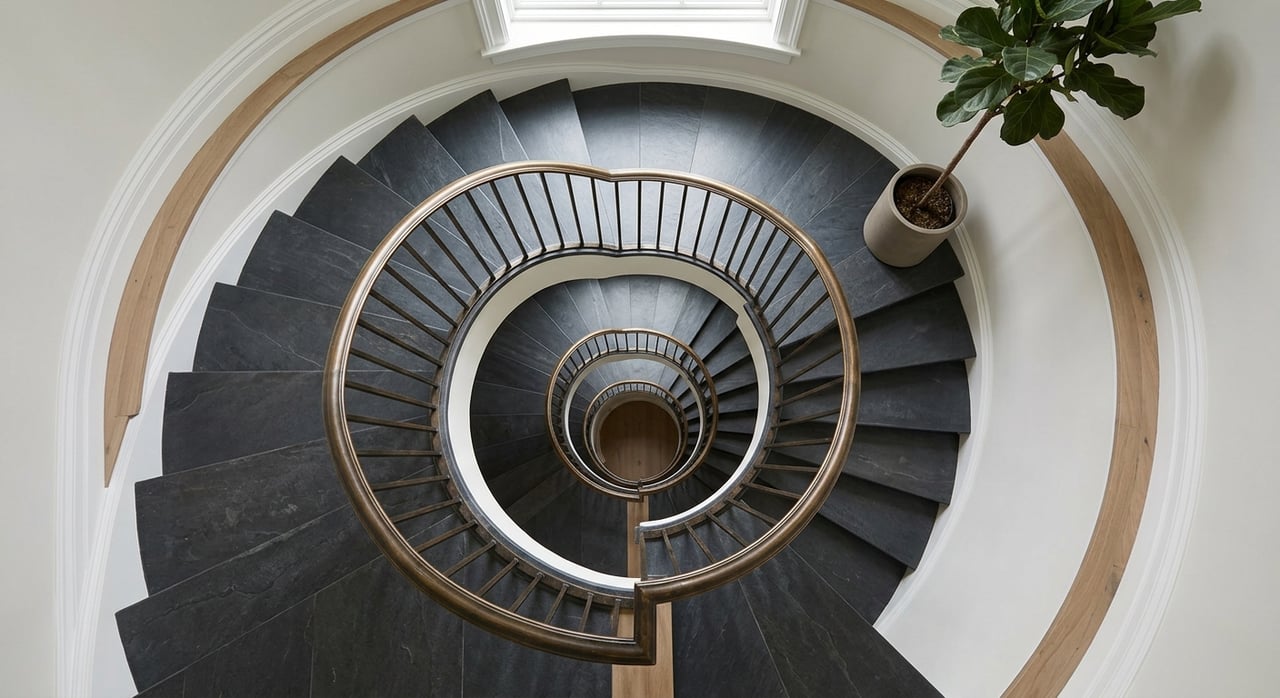
- Remove extra furniture to create clear pathways and a single focal point, such as a view, a fireplace, or a media wall.
- Use one appropriately sized rug to define the seating area.
- Add neutral pillows and a simple green plant for softness.
Primary bedroom
- Center the bed and use hotel-style, neutral bedding.
- Keep nightstands uncluttered and add matching lamps for balance.
- Minimize dressers or bulky pieces if the room feels tight.
Kitchen
- Clear counters. Store small appliances, soaps, and paper towels.
- Wipe cabinet faces and update tired hardware if needed.
- Add one simple accent, such as a bowl of green apples or a small bouquet.
Bathrooms
- Remove personal items from counters and showers.
- Hang fresh white or light gray towels and replace worn mats.
- Swap in a crisp, new shower curtain if needed.
Entry and hallways
- Brighten with warm, consistent bulbs and clear visual clutter.
- Use a slim console or small mirror only if it does not crowd the space.
Closets and storage
- Remove about half the contents so capacity reads clearly in photos.
- Use matching slim hangers and simple bins to tidy shelves.
Balcony or patio
- Keep it swept and staged with two chairs and a small plant.
- Outdoor space photographs well and signals daily lifestyle value.
Small updates with big impact
- Declutter and deep clean. This is the single most important step and improves both photos and in-person showings. For more staging fundamentals, explore NAR’s staging resources.
- Neutral paint touch-ups. Target scuffed walls and bold accent colors in high-impact rooms.
- Lighting refresh. Use warm or neutral LEDs throughout. Replace dead bulbs and add lamps where corners are dark.
- Quick hardware swaps. New cabinet pulls, outlet covers, and door handles can modernize a space for little cost.
- Flooring care. Professionally clean carpets and consider a simple area rug to define spaces in open layouts.
Marketing assets buyers expect
The online listing is your first showing. Invest in visuals that earn more clicks and in-person tours.
- Professional photography. Ask for high-resolution interiors, a twilight exterior if applicable, and amenity shots such as lobby, gym, roof deck, and parking.
- Floor plan with dimensions. Buyers assess furniture fit and flow quickly when a plan is clear.
- 3D tour or video. Consider for premium units or unique layouts to improve remote engagement.
- Virtual staging for vacant units. It is cost-effective and powerful when disclosed properly. Industry groups report strong performance for staged listings; see RESA’s 2025 insights via Home Staging Newswire and NAR’s staging guidance.
Photography day checklist
- Open all window coverings and turn on every light.
- Hide cords, pet items, toiletries, and countertop clutter.
- Tuck away trash cans and small rugs that break up sightlines.
- Make beds perfectly and smooth duvet corners.
- Wipe glass, mirrors, and stainless appliances.
Timeline and budget: what to expect
Most occupied condos and co-ops can be photo-ready in one to three weeks with a focused plan. A simple sequence looks like this:
- Week 1: Declutter, deep clean, and repair minor items.
- Week 1–2: Paint touch-ups, lighting and hardware refresh, partial staging.
- Week 2: Professional photos, floor plan, and amenity shots.
- End of Week 2 or 3: Go live.
Budget ranges vary by unit size and scope, but industry snapshots offer helpful guardrails:
- DIY or seller-led staging: $0 to $500 for supplies and paint touch-ups. Many agents also pitch in to minimize cost, a point reflected in NAR’s staging resources.
- Modest professional staging or consultation: $1,000 to $3,500 for partial staging or a short-term rental.
- Full staging for larger or vacant units: $3,000 to $6,000+, depending on duration. Recent RESA reporting shows mid-thousands as a common investment with strong ROI in tracked samples, summarized in this 2025 report.
Co-op sellers should also plan for the post-offer phase. Board review and interviews can add several weeks between contract and closing, so it pays to gather building documents and financials early.
Showings and open houses: logistics and safety
- Confirm showing windows with management and whether a staff member must be present.
- Ask your agent about lockboxes. Policies vary by building and must align with MLS procedures like the ones in MLS PIN’s rules. A local example shows that some co-ops do allow lockboxes, as seen in this OneKey MLS listing detail.
- Remove pets and signs of pets on showing days.
- Secure valuables and sensitive documents.
- If you plan deliveries or furniture moves, double-check elevator reservations and any curb or parking permits through the City of White Plains Applications & Permits page.
Confirm building rules and municipal permits with your management company and the City of White Plains before scheduling movers, staging furniture deliveries, or open houses.
Ready to sell smarter
Thoughtful staging helps buyers see your unit clearly, which translates to stronger interest and better outcomes. If you want a streamlined plan tailored to your building’s rules and your timeline, let’s talk. Schedule a complimentary consultation with Khuzama "Kay" DaCosta to map your prep, photography, and launch strategy.
FAQs
How much should I spend on staging my White Plains condo or co-op?
- Budget $0 to $500 for DIY cleaning and touch-ups, $1,000 to $3,500 for partial professional staging, and $3,000 to $6,000+ for full staging; NAR and RESA report that staging often reduces days on market and can improve offers.
Do co-ops in White Plains allow lockboxes for showings?
- It depends on your building; confirm with management and ensure your agent follows MLS procedures, which are outlined in resources like MLS PIN’s lockbox rules, and note that some local co-ops do allow lockboxes as shown in a OneKey MLS example.
When should I start staging before listing my unit?
- Plan one to three weeks for most occupied condos or co-ops, longer for vacant units or deeper projects; co-op sellers should also allow extra time after offer for board review and interviews.
Is virtual staging a good idea for a vacant White Plains condo?
- Yes, it is a cost-effective way to help buyers visualize the space; just disclose virtual staging in the listing and pair it with accurate floor plans for clarity.
What if my building limits deliveries or elevator use during staging?
- Ask your managing agent about elevator reservations, preferred delivery windows, and any vendor insurance needs, and check the City of White Plains permits page if curb or parking use is required.